Translating
DWSIM uses .NET Internationalization (i10n) features to provide translated text on forms, messages and other interfaces inside the application. DWSIM's default language is Brazilian Portuguese, with support for English, German and Spanish (partial) translated texts.
There are multiple ways of translating a .NET application. This tutorial describes how to get DWSIM translated to your language in the fastest possible way using free tools.
Contents
Tools
There are some commercial tools that do the translation process of a .NET application available elsewhere, but in this tutorial we'll use the same tools that the DWSIM development team uses. So, you'll need:
- GitHub for Windows, in order to clone the source code to make the changes in your computer and then submit them back to the server.
- Visual Studio 2019 Community Edition, to do the actual translation, compiling and testing of the modified/updated code.
Forking and Cloning DWSIM's code repository on GitHub
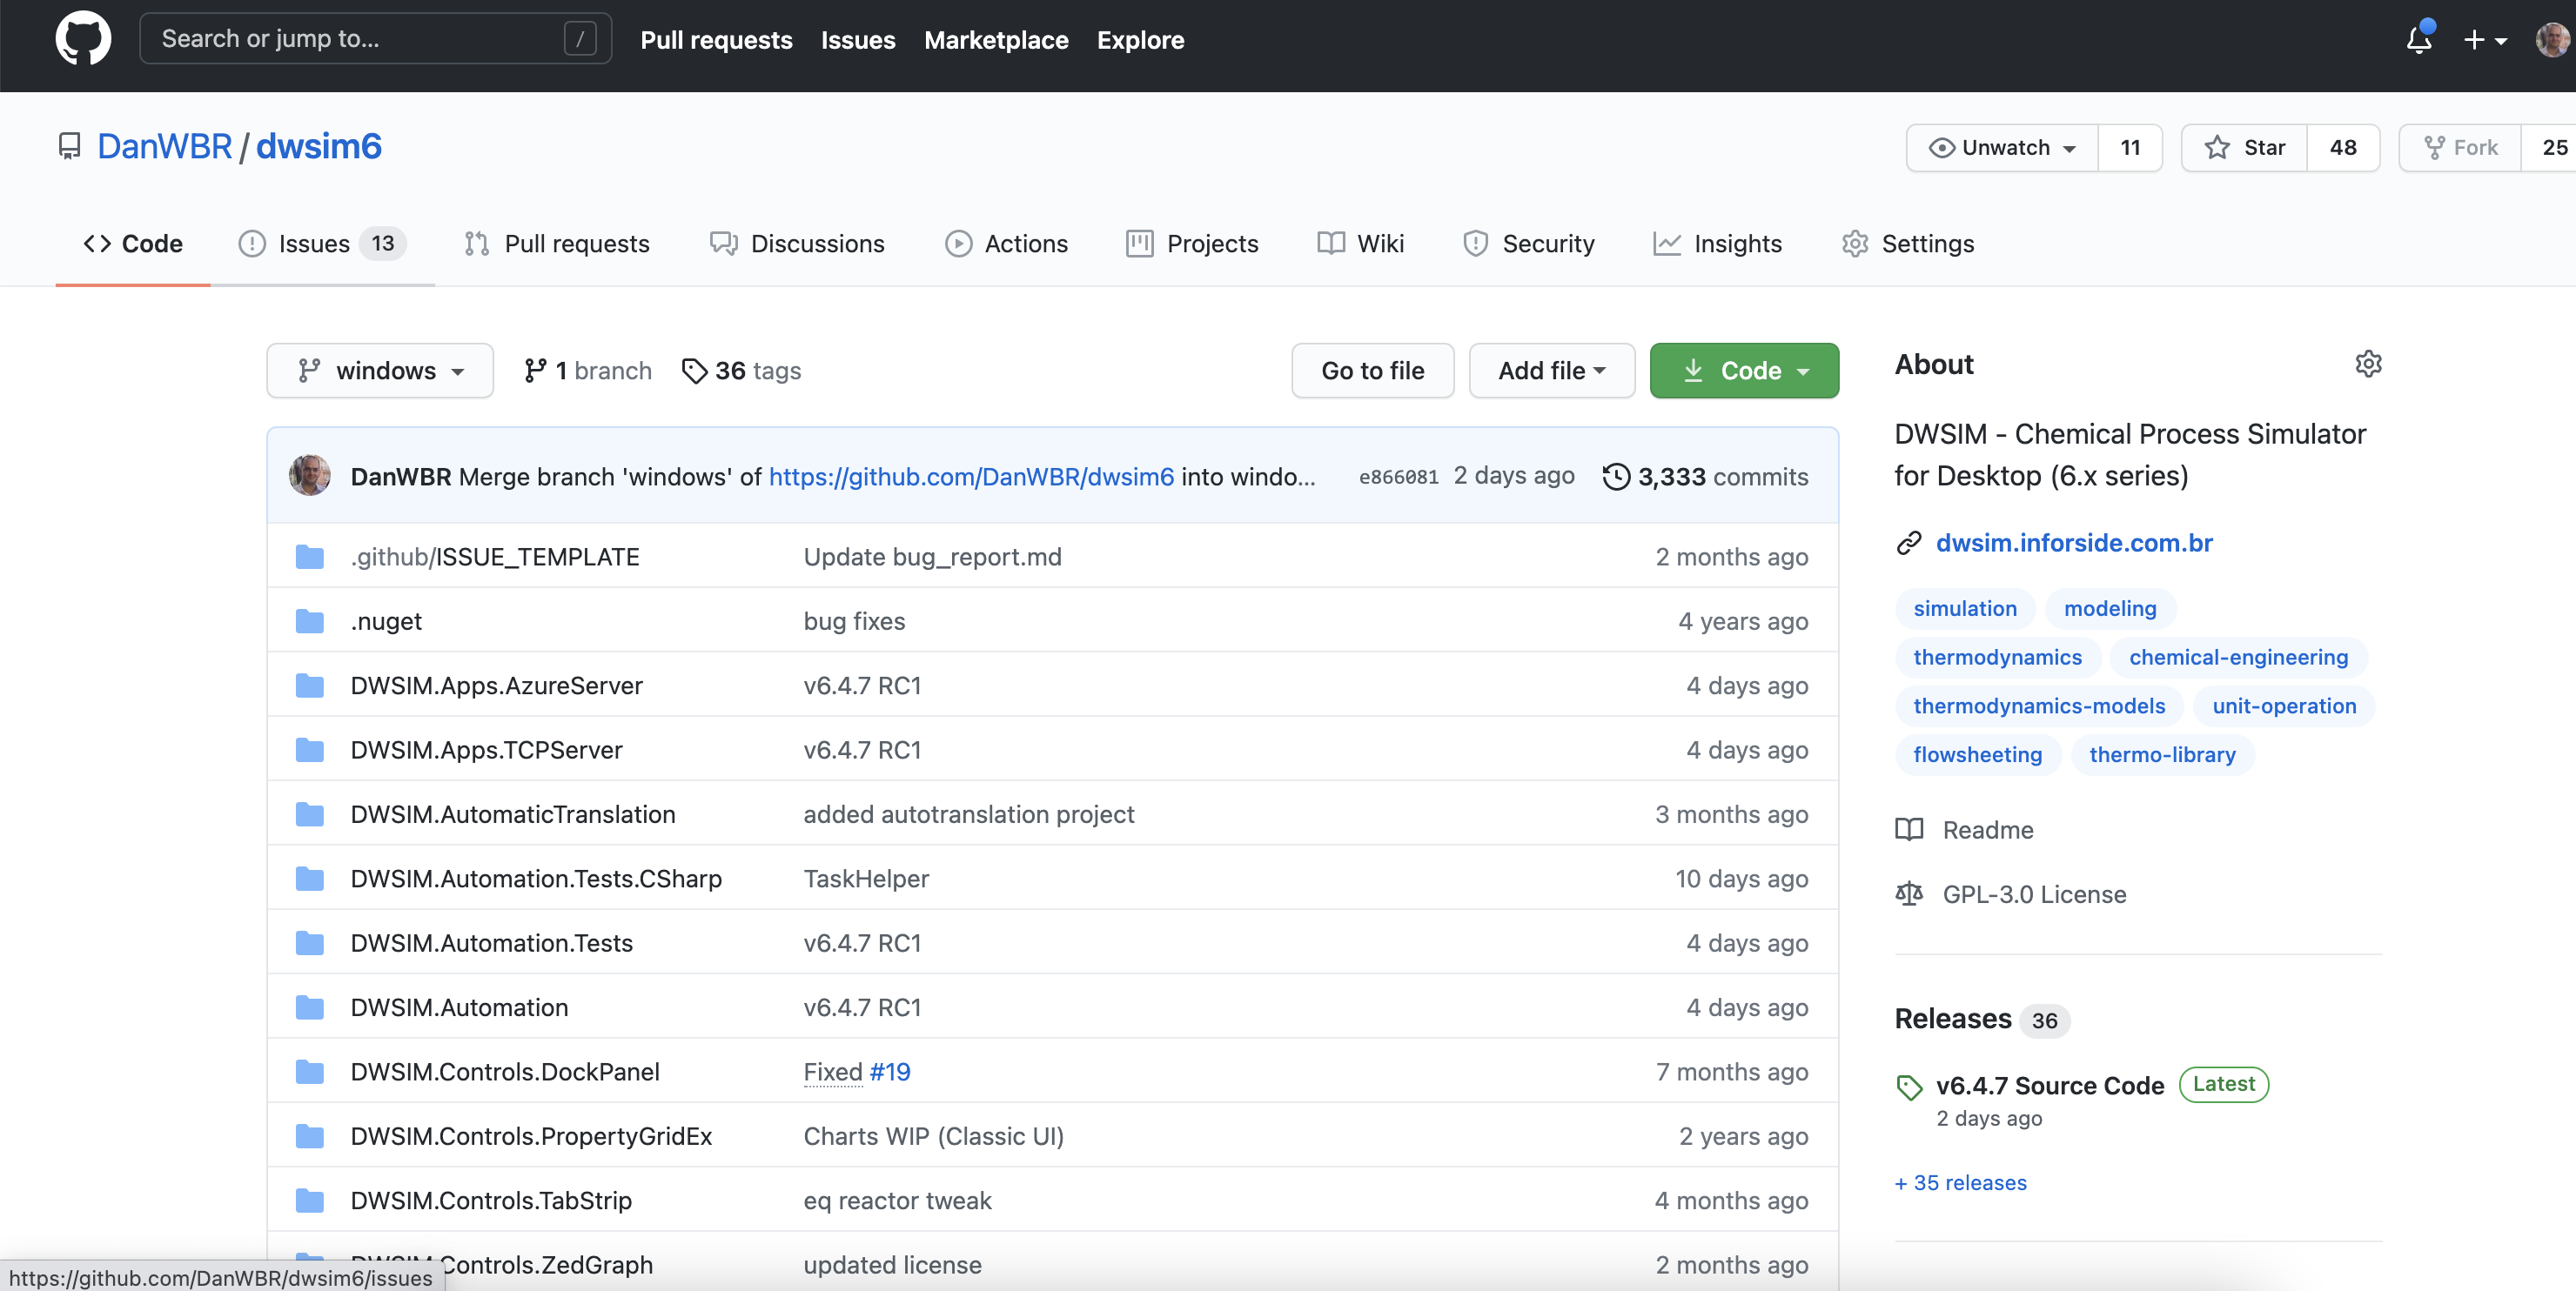
DWSIM's most up-to-date source code is hosted on GitHub. During the translation process you'll need to change the source code and, in order to not to mess with the main code, which is used by the developers, you'll need to Fork and Clone the repository using your GitHub account. Click here for instructions on how to do it.
DWSIM's GitHub repository web address is https://github.com/DanWBR/dwsim6.
Opening DWSIM source code on your local machine
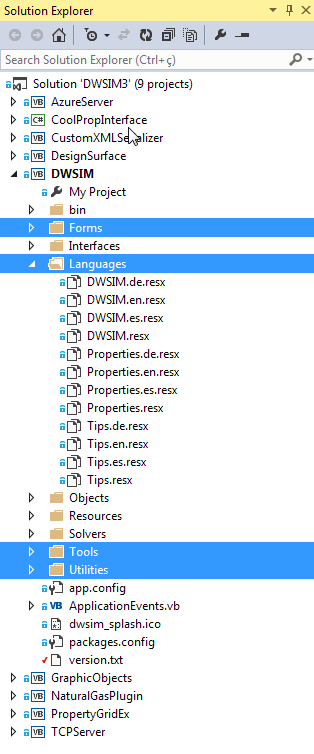
After setting up your local clone of DWSIM's code repository, open the solution file using Visual Studio 2019. After opening DWSIM6.sln, you will see the project structure in the Solution Explorer:
The files that need translation are Form files (designer-generated .vb files) and Resource (.resx) files, containing the text for messages and descriptions.
The translation process
Main Resource (resx) files
You can begin the translation process by looking at the Languages folder. There you'll find a few resx files, which are XML files containing translated texts. The main files are:
- DWSIM.resx - contains most of the messages and descriptions for dynamically generated texts, that is, strings that are shown in the application depending on user actions
- Properties.resx - contains the translated texts for Streams and Unit Operations properties
- Tips.resx - contains the translated texts for the tips shown in the Log (Information) Window
You'll notice that there may be some extra files with similar extensions, i.e. DWSIM.resx also has some associated files named DWSIM.en.resx, DWSIM.de.resx and DWSIM.es.resx, which contains translated texts for English, German and Spanish languages, respectively. The same is also true for Properties and Tips resource files.
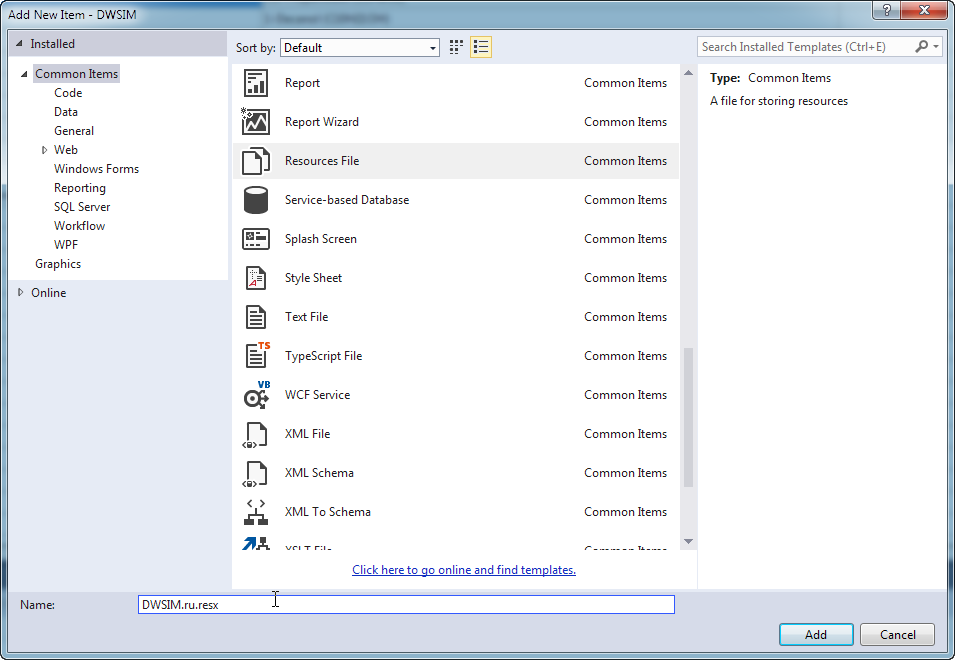
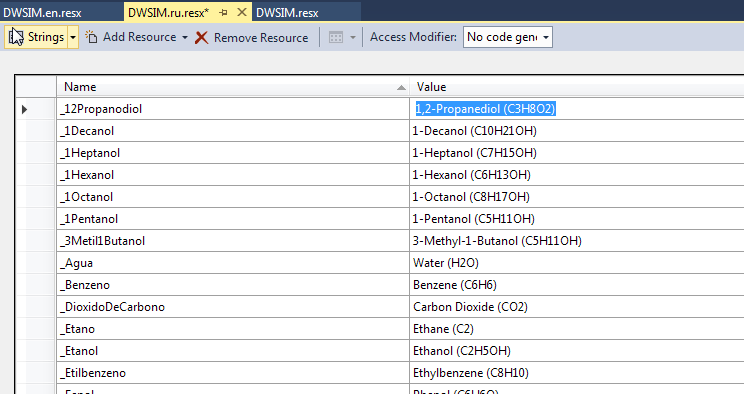
You can begin the translation process by adding a set of new resource files here. For instance, if you want to translate DWSIM to Russian, add three new files to this folder. You can do that inside Visual Studio. Right-click on the Languages folder and select Add > New Item. Add the following files: DWSIM.ru.resx (ru is the international code for Russian Language), Properties.ru.resx and Tips.ru.resx:
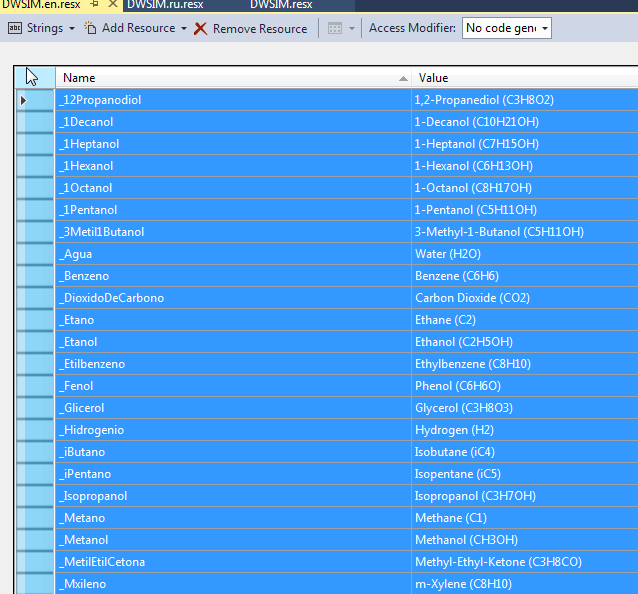
The new files will be empty by default. You can begin the translation by copying the contents from an existing resource file (DWSIM.en.resx for instance). Paste the contents in your new resource file and begin translating by updating the strings in the "Value" column.
Form (window) resource files
After updating the main resource files located in the Languages folder, you'll need to translate the user interfaces (forms). You can also do that inside Visual Studio.
All the forms in DWSIM are located in the Forms, Tools and Utilities folders, including their subfolders. DWSIM will be 100% translated to your language after you finish translating ALL forms.
To translate a form in Visual Studio, do the following:
Step 1
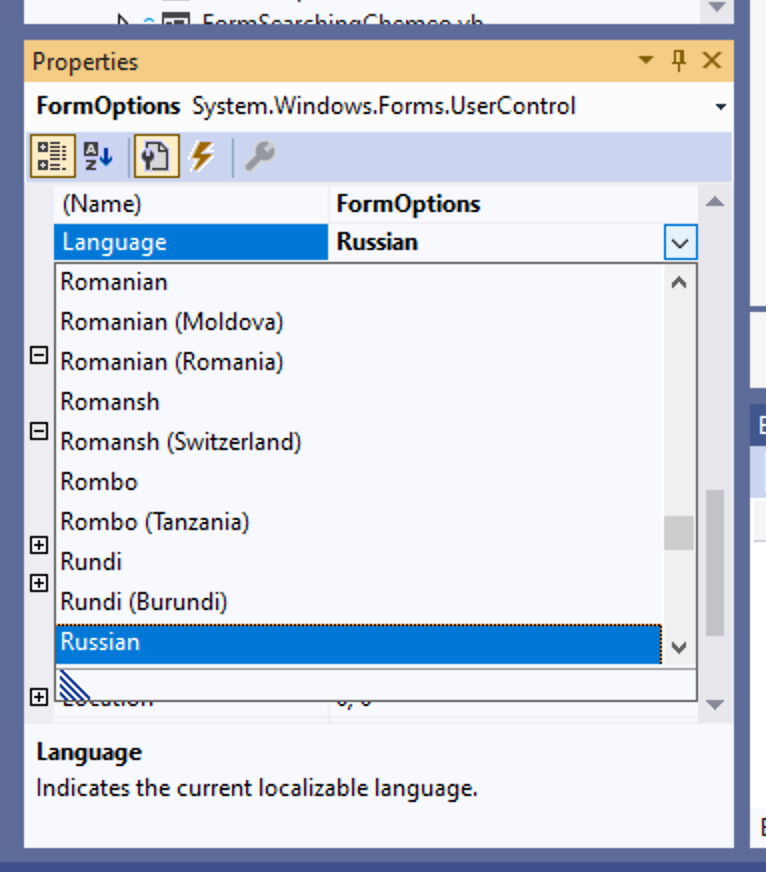
Open the form by double-clicking on it in the Solution Explorer. In the Properties window, go to Language and select the language that you are translating the form to. Move a control inside the form just a little bit using the arrow keys to make Visual Studio think that you changed something in the form. This way it will automatically create the associated resource file and add it to the project/solution after you save your changes.
Since the default language is Portuguese, it can be easier if you begin the translation process by using the English language resource file as the starting point. To do this, close the form in Visual Studio and, using Windows Explorer, go the the folder where the Form files are located. Find the forms' .ru.resx file, delete it, make a copy of the .en.resx file and rename the copied file to use the .ru.resx extension. Back in Visual Studio, reopen the Form. You should see the interface in English but with your language selected.
The english-translated form will then be the starting point for your translation now:
Step 2
Begin your work by selecting the Labels and changing their Text property in the Property Window. Other controls also have similar properties which will be associated with the displayed text. Be careful to not to change the Name property, which should remain the same.
Step 3
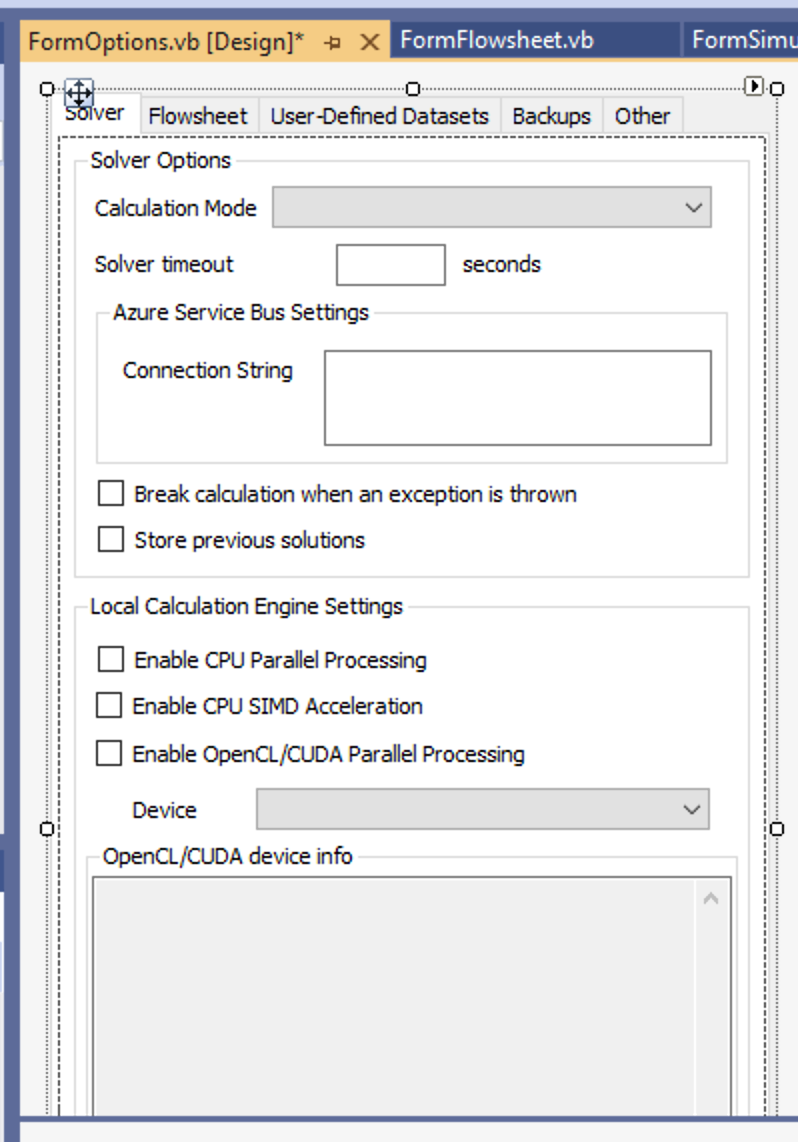
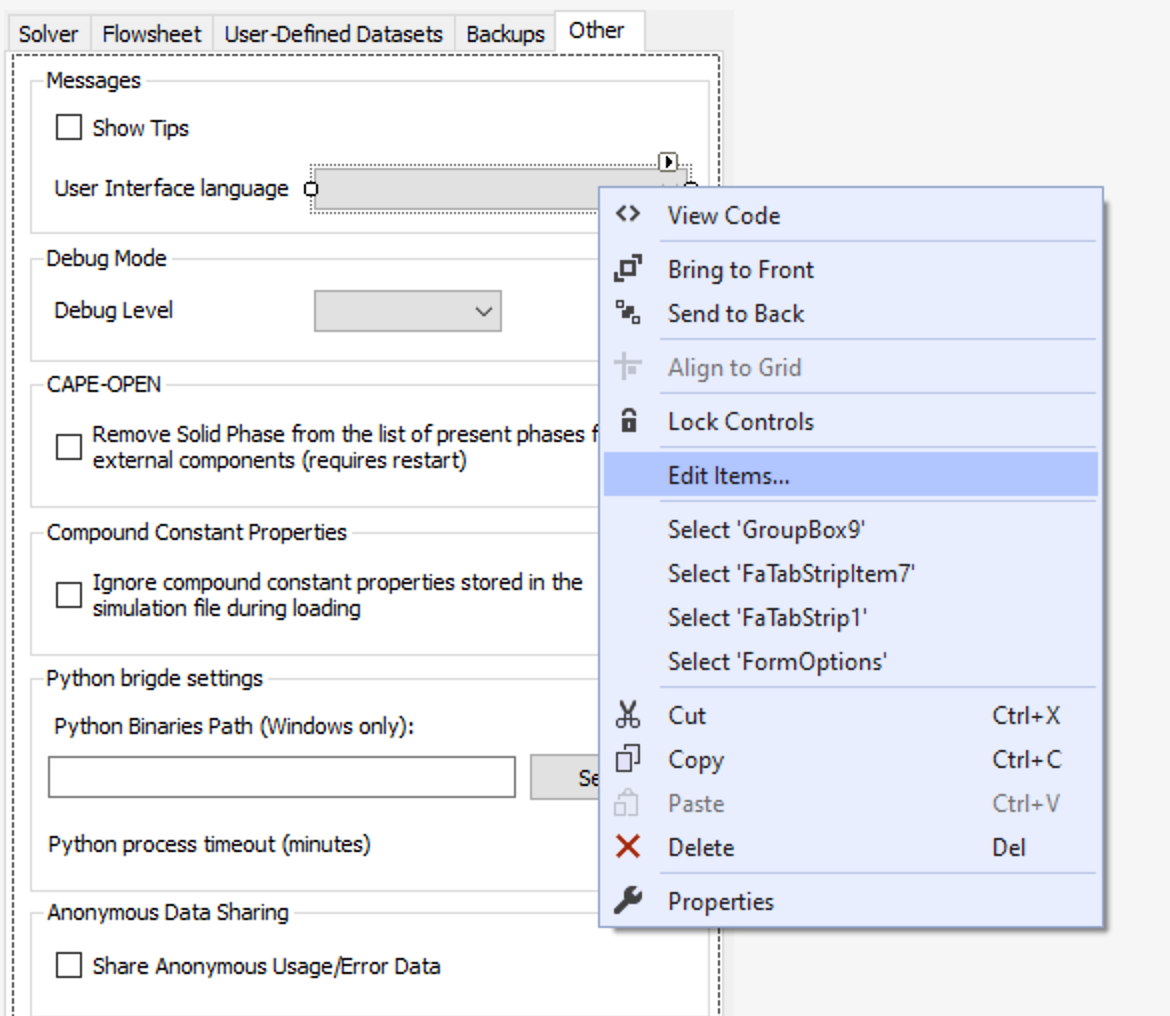
After finishing your translation, you can test it by compiling DWSIM and making it aware of the new language. To do that, open FormOptions.vb in Visual Studio and change the language of the Form to the Default setting using the Property Window. Then click on the Outras Opções tab and select the ComboBoxUILanguage control. Right click on it and select Edit Items. Add the description of your language at the end of the list. Click OK.
Now double-click on the ComboBox. Visual Studio will get you to the code that will be executed when the SelectedItemChanged event is fired during runtime. Add the code to set the CultureInfo setting to your language code and save the changes. You also need to add a new line to the section which sets the selected combobox index in the Form's Load event handler.
You'll need to do the above procedure only once. Compile DWSIM and run the application. If everything was done correctly, your translation work should be visible in DWSIM after you set it to use your language by changing the above item in the General Options window.
Committing your changes to the main code repository
The changes you're doing to the project solution are being kept locally and will be synced to your online copy of DWSIM's project on GitHub. In order to commit your changes to the main project so they can be incorporated into the public releases, do a pull request to the main repository, following these instructions: Using pull requests.
Additional information
You don't have to wait to finish the entire translation process in order to submit your work to the main project. You should always sync your fork and local clone of the project between translation sections, because the code in the main repository is always changing (DWSIM development never stops!).
Since the translation process is very time-consuming, it is better to translate as much as you can do at once, submit your changes to the main project, wait for them to be added/accepted by the developers, then sync back your fork with the main project before restarting the translation process. This will ensure that your local code will be always sync'ed with the main one.
