Difference between revisions of "OPC Client Plugin"
m |
m |
||
| Line 35: | Line 35: | ||
1 - Open a simulation and go to '''Plugins''' > '''OPC UA Client''': | 1 - Open a simulation and go to '''Plugins''' > '''OPC UA Client''': | ||
| − | [[File:opc2.png]] | + | [[File:opc2.png|300px]] |
2 - In the Plugin window, click in '''Connect''' to connect to an existing Server. If you don't have access to a real server, you can open the Sample Client/Server to test the plugin functionality. | 2 - In the Plugin window, click in '''Connect''' to connect to an existing Server. If you don't have access to a real server, you can open the Sample Client/Server to test the plugin functionality. | ||
| − | [[File:opc4.png]] | + | [[File:opc4.png|600px]] |
3 - Add a new mapping: | 3 - Add a new mapping: | ||
| − | [[File:opc3.png]] | + | [[File:opc3.png|600px]] |
4 - Click on the button at the '''Select''' column to open the server item selection window. Select a variable to link to: | 4 - Click on the button at the '''Select''' column to open the server item selection window. Select a variable to link to: | ||
| − | [[File:opc5.png]] | + | [[File:opc5.png|600px]] |
[[File:opc7.png]] | [[File:opc7.png]] | ||
5 - Select an object and property to map the variable value to. | 5 - Select an object and property to map the variable value to. | ||
| − | [[File:opc8.png]] | + | [[File:opc8.png|600px]] |
6 - Click on the '''Update Values''' button to read/update the variable values from the server. | 6 - Click on the '''Update Values''' button to read/update the variable values from the server. | ||
| − | [[File:opc9.png]] | + | [[File:opc9.png|300px]] |
7 - Click on the '''Write to Flowsheet''' button to write the variable values to the mapped flowsheet objects. | 7 - Click on the '''Write to Flowsheet''' button to write the variable values to the mapped flowsheet objects. | ||
| − | [[File:opc10.png]] | + | [[File:opc10.png|300px]] |
8 - The '''Auto-Update/Auto-Calculate''' functionality can be used to update the flowsheet at a specified interval. | 8 - The '''Auto-Update/Auto-Calculate''' functionality can be used to update the flowsheet at a specified interval. | ||
| Line 68: | Line 68: | ||
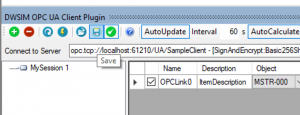
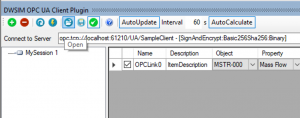
9 - Use the Save/Load functionality to store and load the list to/from a file. If you save the file with the same name of the simulation, it will be automatically loaded when you reopen the plugin after loading the simulation file. | 9 - Use the Save/Load functionality to store and load the list to/from a file. If you save the file with the same name of the simulation, it will be automatically loaded when you reopen the plugin after loading the simulation file. | ||
| − | [[File:opc12.png]] | + | [[File:opc12.png|300px]] |
| − | [[File:opc13.png]] | + | [[File:opc13.png|300px]] |
Revision as of 13:29, 29 September 2020
The OPC Client Plugin for DWSIM enables mapping of monitored variables in an OPC Unified Architecture (UA) Server to Properties of DWSIM Flowsheet Objects (Unit Operations, Energy and Material Streams).
Features
- Map OPC UA Server Variables to DWSIM Flowsheet Objects
- Use expressions to manipulate the monitored value before mapping to an object
- Auto-calculate the flowsheet after updating the variable values from server
- Timed variable auto-update and flowsheet auto-calculate
- Save/Load the list of mapped variables
System Requirements
- Minimum DWSIM Version: v6.1 Update 10
- Operating System: 32/64-bit Windows 7/8/10
Download
DWSIM OPC Client Plugin Download Page
Installation
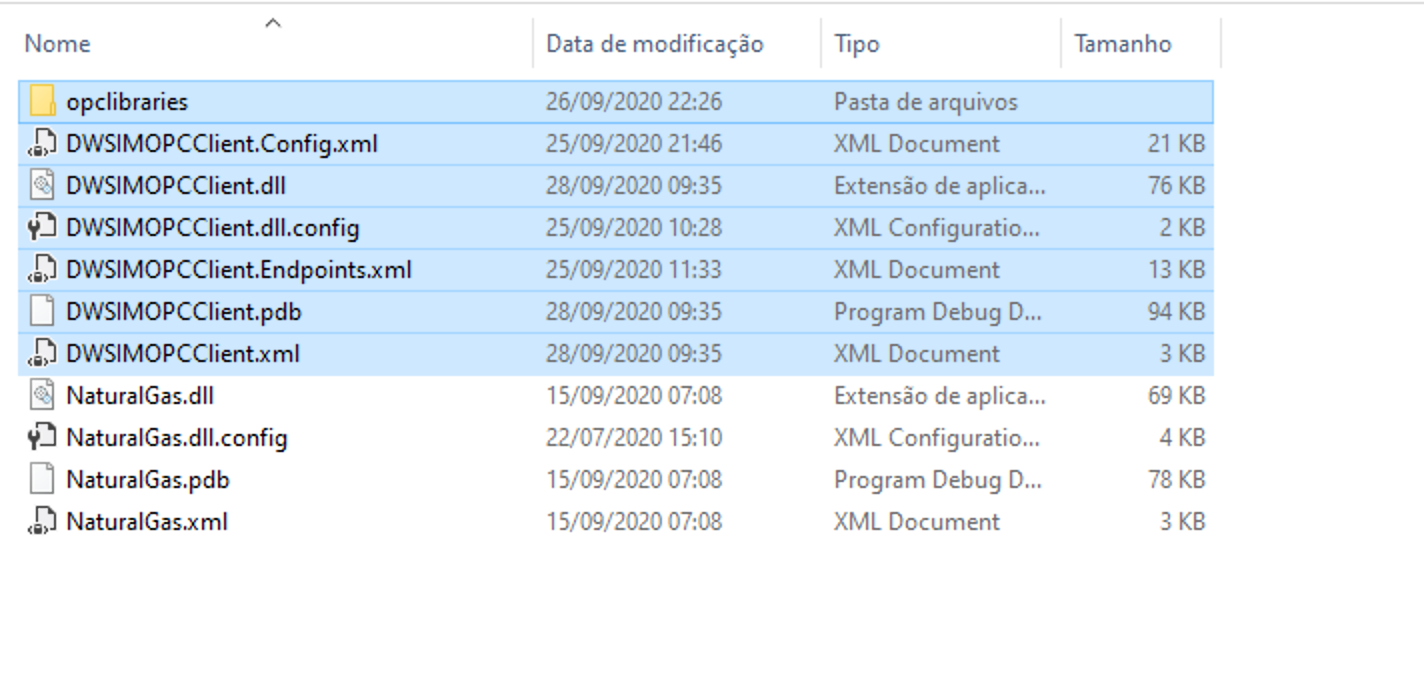
Unzip the downloaded package and copy the files to the "plugins" folder inside DWSIM's current installation directory, keeping the same file/directory structure as in the following image:
General Usage
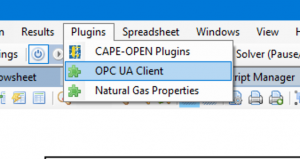
1 - Open a simulation and go to Plugins > OPC UA Client:
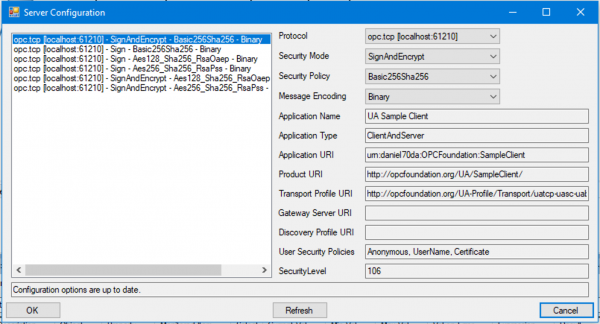
2 - In the Plugin window, click in Connect to connect to an existing Server. If you don't have access to a real server, you can open the Sample Client/Server to test the plugin functionality.
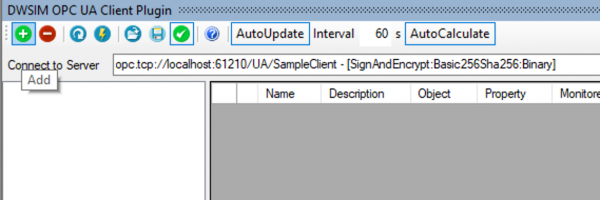
3 - Add a new mapping:
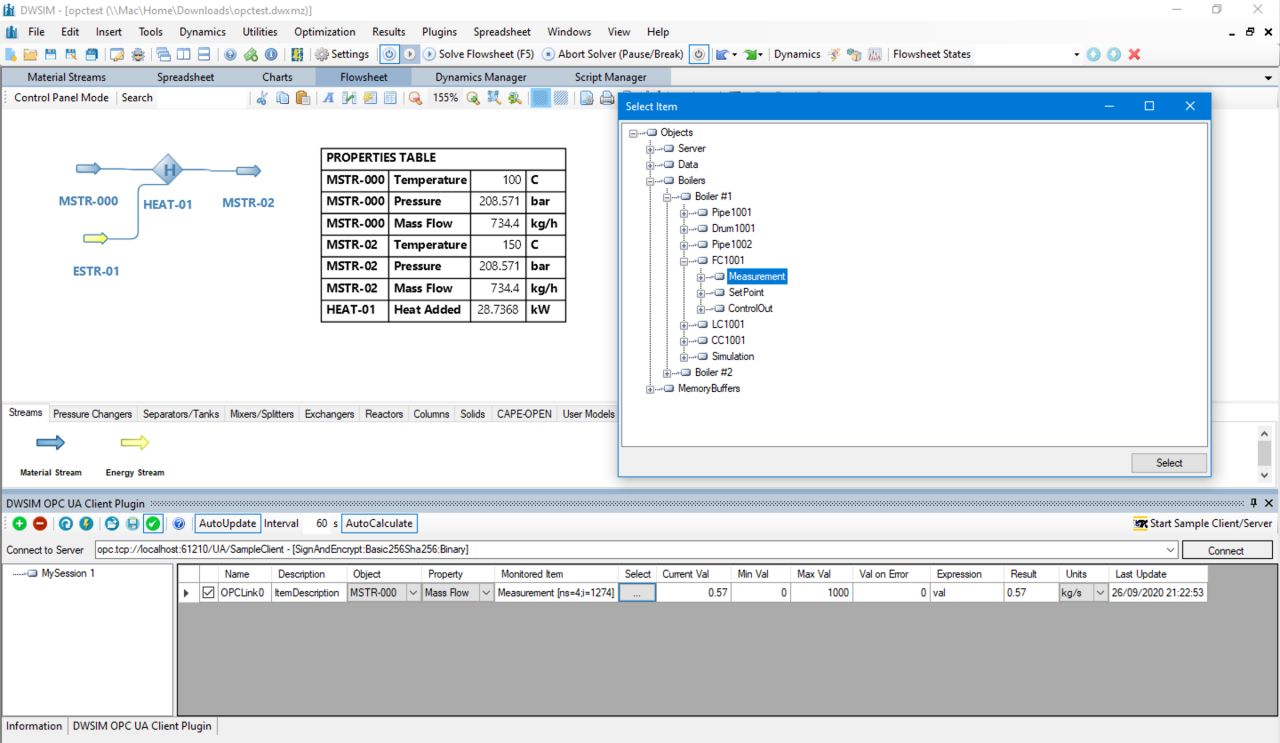
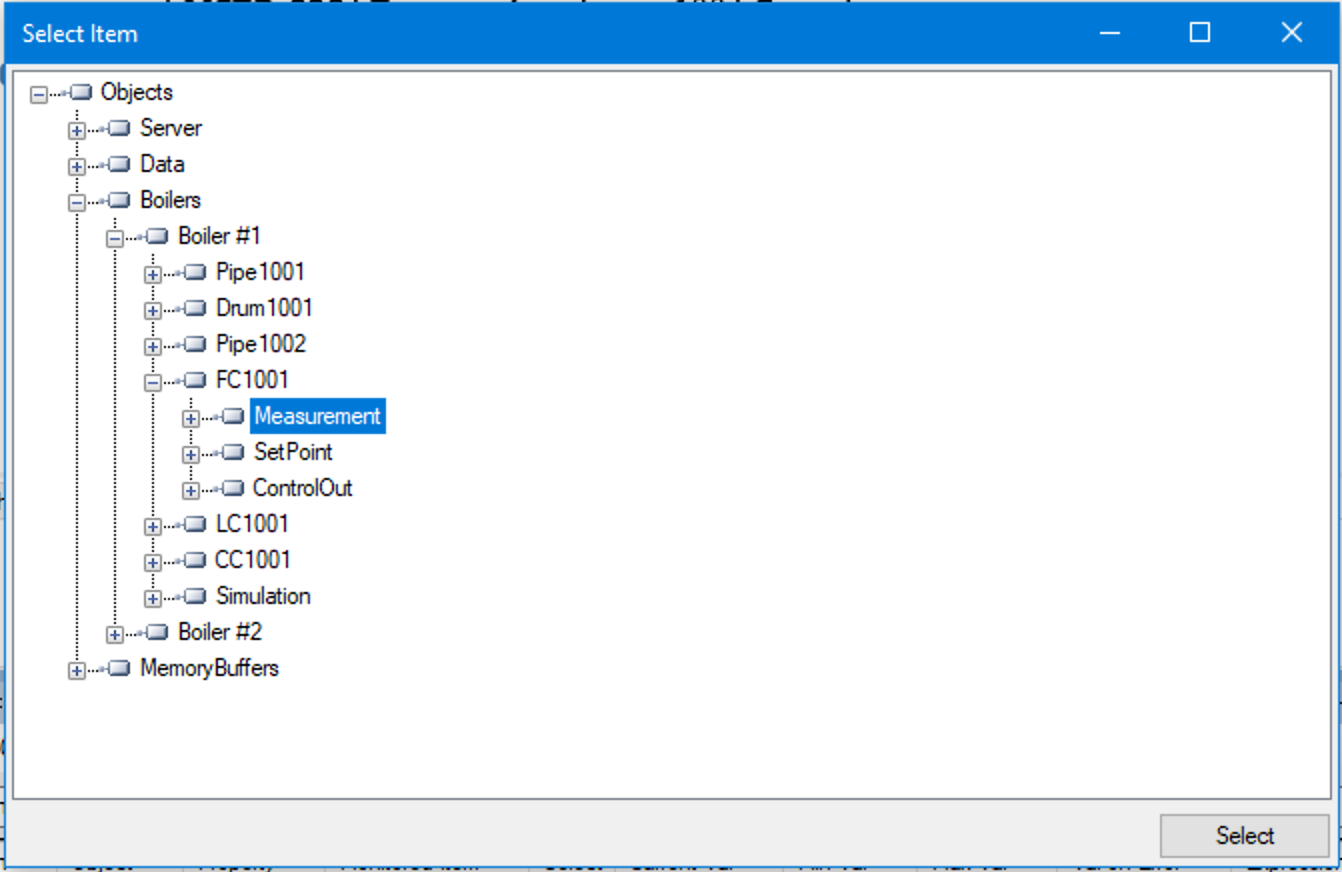
4 - Click on the button at the Select column to open the server item selection window. Select a variable to link to:
5 - Select an object and property to map the variable value to.
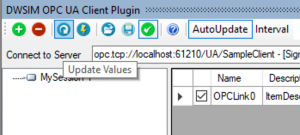
6 - Click on the Update Values button to read/update the variable values from the server.
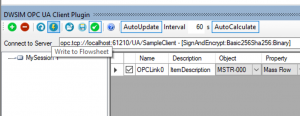
7 - Click on the Write to Flowsheet button to write the variable values to the mapped flowsheet objects.
8 - The Auto-Update/Auto-Calculate functionality can be used to update the flowsheet at a specified interval.
9 - Use the Save/Load functionality to store and load the list to/from a file. If you save the file with the same name of the simulation, it will be automatically loaded when you reopen the plugin after loading the simulation file.
